Pages are the foundation of all microapps. They are the canvases all tiles and creative assets exist. It is helpful to conceptualize pages into three page types; Standard Pages (which we call "Pages"), Pages States, and Page Overlays ("Overlays"). All microapps contain at least one Page, while Page States and Overlays are optional page types that provide greater organization for your microapp content.
Pages
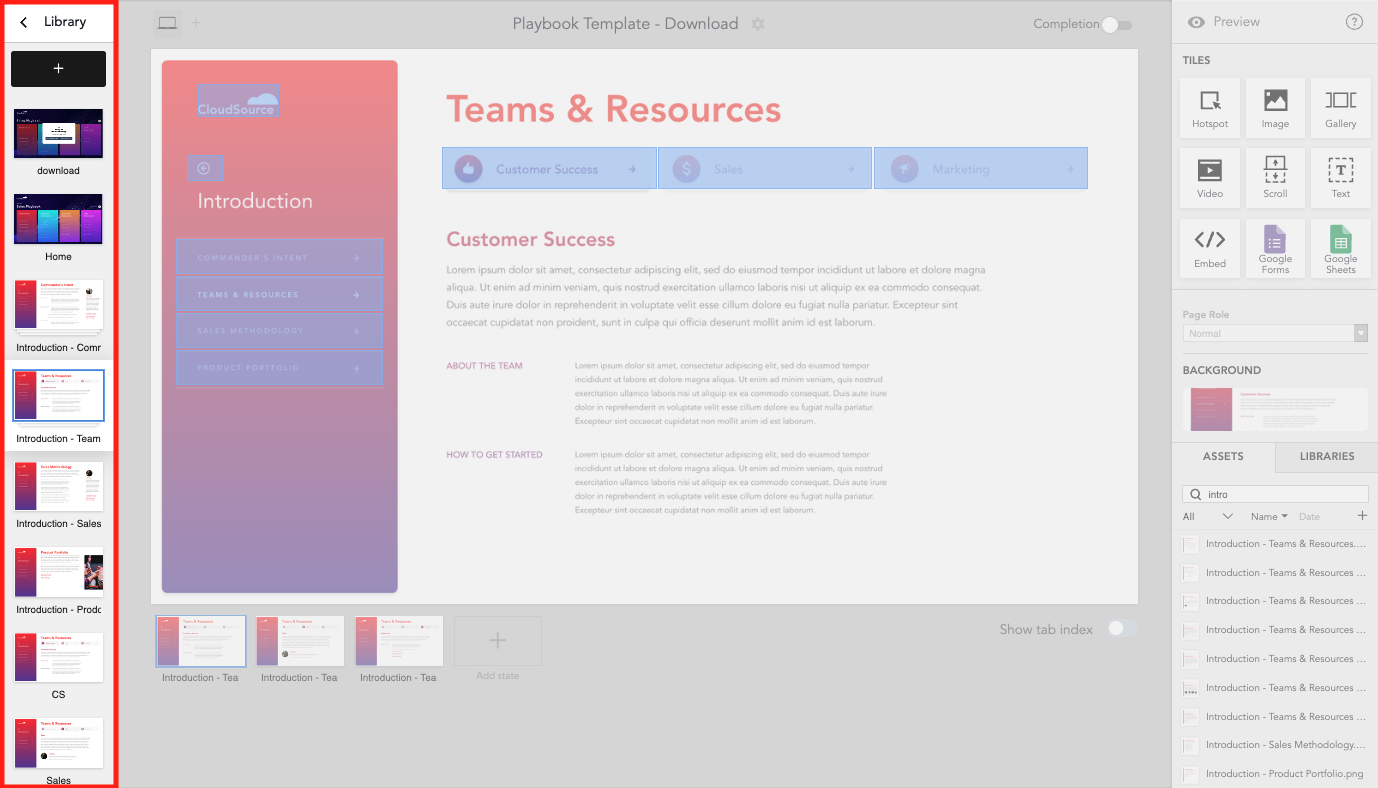
Pages are visible in the Pages Panel on the left side of the builder.
Adding Pages
Pages can be added to your microapp in 2 ways:
- Click the + button at the top of the Pages Panel. A blank page will be created.
- Syncing the microapp with a plugin. For more information read Syncing with Plugins Overview.
Page States
States allow you to group similar pages together without taking up space in the pages section on the left-hand side of the builder. States are a great way to organize the pages that share similar content. The first page in a group of pages is the Parent Page, while all other pages after the Parent Page are considered Page States.
Add Page States
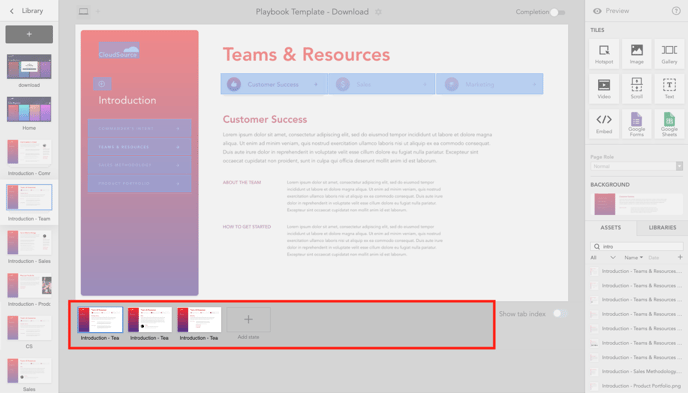
Navigate to a page in your Pages Panel that you would like to add a Page State to. There are 2 ways to add a Page State:
- Click the Add state icon to create a blank Page State.
- Drag and drop an asset from your Asset Panel to the Add state icon. A new page state is created with the asset set as the background image.
✏️ Important Note
States are not accessible from the left sidebar. They are only available below the canvas of the parent page.
Overlays
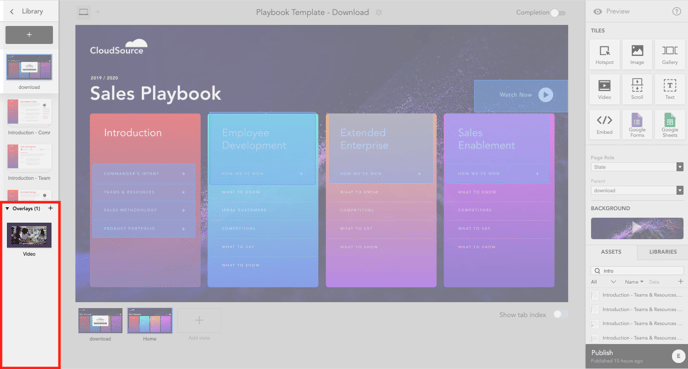
An overlay is a microapp page type that is layered on top of an existing microapp page, typically accessed via a hotspot with an associated animation. Typically, editors utilize video or image tiles in overlay pages to add a more dynamic 'pop-up' feel to the microapp when the user clicks on the content. Overlays are listed below the Microapp pages panel on the left side of the Builder.
When viewers access the overlay page, Tiled automatically generates an X icon in the left corner, which the viewer can click to close the overlay, returning to the source page. This icon can be turned off or replaced with a custom icon.
Add an overlay
To create a new overlay page, click the + icon next in the Overlays panel. A new Overlay page is added to the display. You can now edit the Overlay just like any other Page.
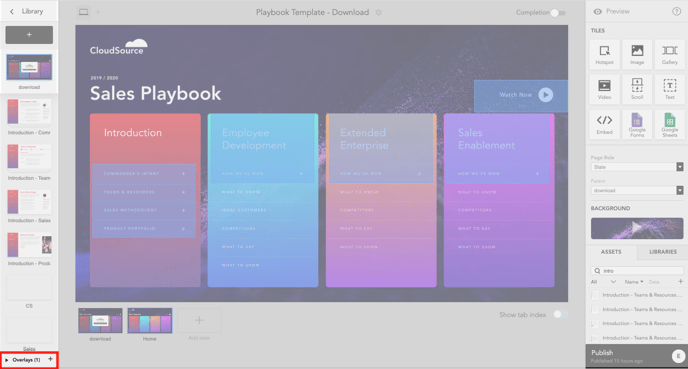
The number of Overlay Pages is denoted by the Number in Parenthesis next to Overlays.
To see a full list of your Overlays, you can expand the Overlay panel by clicking the arrow icon.
Changing the opacity of overlays
Changing the opacity of your overlay is a really helpful design feature that allows you to layer You can configure the opaqueness of your overlay.
Linking to a Page
When linking to a page from a Hotspot Tile you can only use a Page State within the current microapp as the destination target.
Tips for using overlays
- Overlays can not be stacked on top of another.
- Do not link an overlay to another overlay.
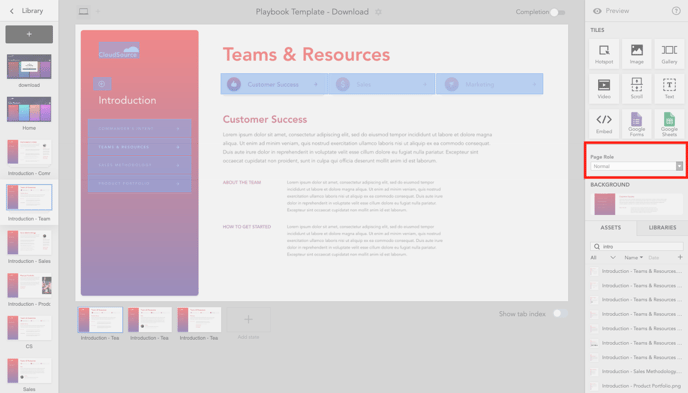
Change Page Role
The Page Role feature allows you to change an existing microapp page to a state of another page, as well as change a state into its own microapp page.
Change a Page to a Page State
To change a microapp page to a state of another page navigate to the desired page. Click the Page Role dropdown list and select State. The Parent dropdown list is then displayed.. Click the dropdown list and select the desired microapp page.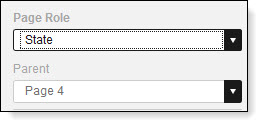
The page is now a state of the selected microapp page.
Change a Page State to its own Standard Page
To change a state of a microapp page to its own page, navigate to the desired state. Click the Page Role dropdown list under the Tiles Panel and select Normal. The page is added as the last page of the microapp.
Change a Page to an Overlay
To change a microapp page to an overlay, first navigate to the desired page. Click the Page Role dropdown list on the Builder Toolbar and select Overlay.
Change an Overlay to a Page
To change an overlay to a microapp page, navigate to the desired overlay. Click the Page Role dropdown list on the Builder Toolbar and select Normal. The page is added as the last page of the microapp.
Duplicate Pages
All Page types can be duplicated. Identify which page you would like to duplicate. Right-click the page and select Duplicate. All media will be duplicated from that page including the position and content of all assets and tiles.
✏️ TAKE NOTE
To duplicate Parent Pages, you must select the page in the Pages Panel. Duplicating Parent Pages will also duplicate Page States.
Delete a Page
If you have a Page, Page State or Overlay that you wish to remove from your microapp, you can delete it. Simply, right click one of these elements and select Delete. Alternatively you can multi-select several pages and press DELETE on your keyboard to delete several pages at one time.