To create a personalized microapp you must create an instance for the microapp. Each instance is a unique personalizable microapp which can be shared to a specific recipient or group. The following article outlines how to create a dynamic microapp from the library and how to create an instance within your personalized microapp.
Table of Contents
- Create a microapp instance
- Edit an instance
- Navigating and searching in edit-mode
- Updating 'required' dynamic elements in edit-mode
- Create personalized microapps from the Tiled API
Create a microapp instance
- In the viewer navigation, click the chevron next to the Default Instance text.
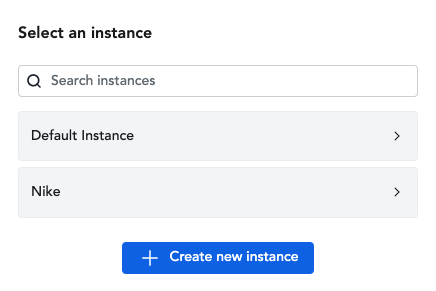
Note: If this microapp already has personalized instances you will see an instance modal with a list of instances to choose from immediately after opening the microapp.
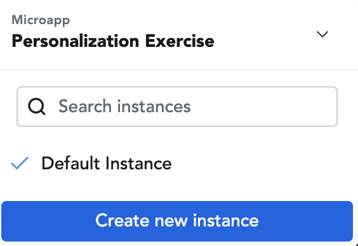
Microapp without personalized instances Microapp with personalized instances 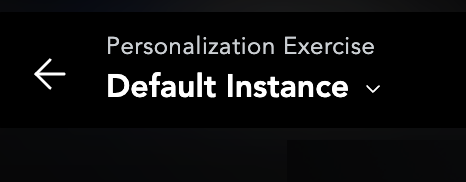
-
A dropdown will appear and you can select Create new instance.
-
The Create new instance modal will appear and you can name your instance and click Save.
Note: You will notice the navigation bar now displays the name of your instance after you save and you can begin personalizing.Create instance modal Navigation after personalized instance 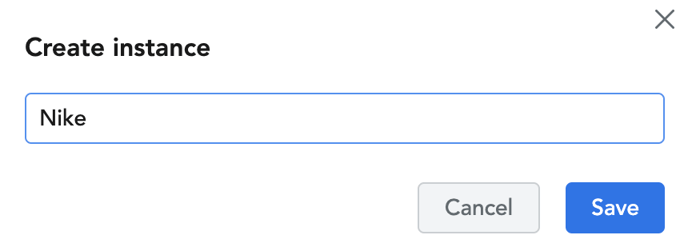
Edit a microapp instance
- Click the edit icon in the top right corner of the microapp viewer.
Note: If you are a base user you will automatically be placed in edit mode. If you are an admin or editor you will see two options and will need to select Personalize. - You will see that the navigation bar options have changed to an "edit-mode" navigation bar. You will also see that any dynamic elements on the screen have a blue outline
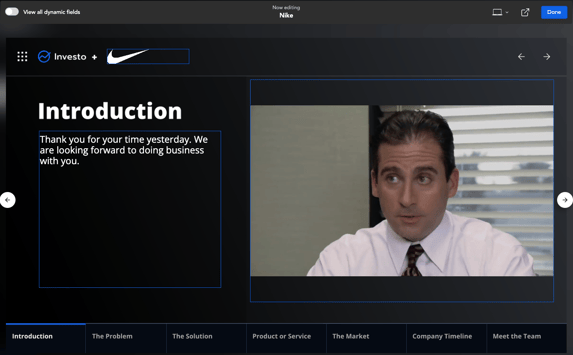
- Hover over the dynamic elements to replace them with your desired values.
Tile Notes Text Dynamic text elements can be updated by editing the text in the text box. Image Dynamic image elements can be updated by uploading an image or pasting a URL link. Another way you can add an image is if you have enabled Personalization for an Asset library. From here, you will be able to use images from your Asset library. Video Depending on how the dynamic video was configured, users will see only one of two options when clicking the replace button.
• If the dynamic video was configured to be replaced by uploading from your device, your desktop finder will automatically appear
• If the dynamic video was configured to be replaced by pasting a video URL link, a small text field will appear for you to paste your linkURL Dynamic Embed tiles can be updated by editing the link in the text box.
Navigate and search in edit-mode
- To get to the next and previous page of the microapp use the left and right arrow buttons or navigate with the left and right arrow keys
Note: When hovering over the arrows you will see a tooltip appear indicating what page you are on out of how many are in the microapp.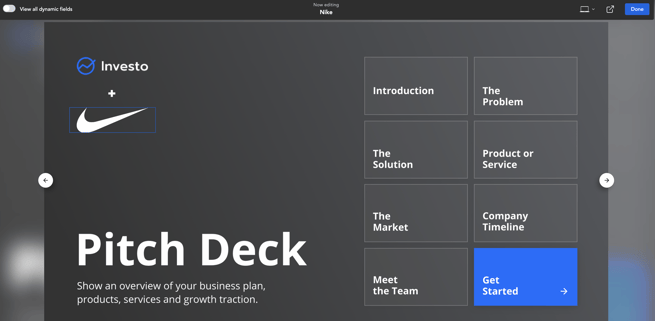
-
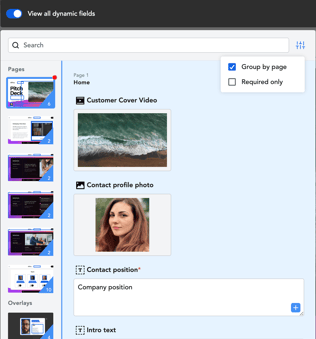
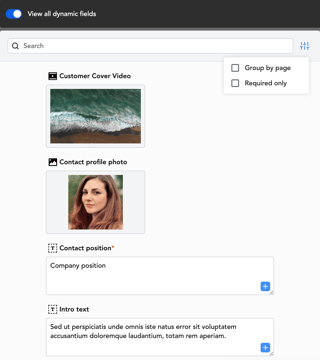
To ensure you have updated all of the dynamic elements in this microapp, turn the View all dynamic fields toggle on. You will be able to see all screens with dynamic fields listed in the panel. If you have a screen in the microapp that has no dynamic fields, it will not appear.
There are two ways to view the dynamic fields in the microapp- dynamic fields grouped by page, and then dynamic fields listed only once. You are then able to filter the dynamic fields by the required field filter.
Note: Each page, state, and overlay with dynamic elements will be listed on the left side of the screen. Each page, state, and overlay will also have a blue outline with the number of dynamic elements on that screen. You will be able to update dynamic elements by selecting a screen. Once a screen is selected, a pop-over will appear with a list of the dynamic fields on that screen.
-
Use the search bar to find a specific dynamic element, page, state, or overlay
Note: If there are any matches, the search bar will return a list of the following:
• A list of dynamic elements with the same name
• A list of screens containing dynamic elements with the same name
• A list of screens with the same name.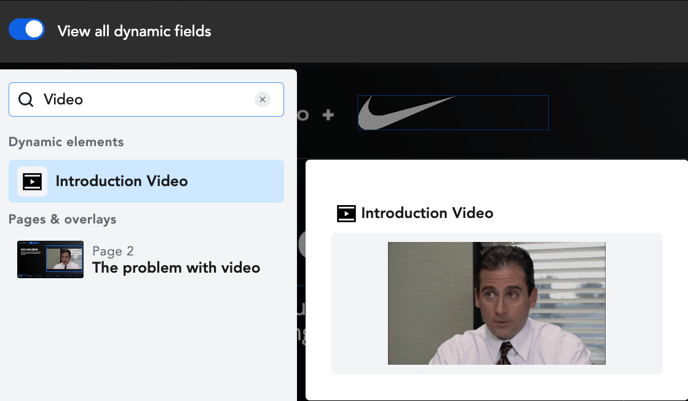
-
Once you have filled out all the dynamic fields in the microapp click Done and share your personalized instance!
Updating 'required' dynamic elements in edit-mode
- Create an instance or view a previously created instance
- In edit mode, you will notice all required dynamic elements have a red icon, whether you are viewing from each microapp page or using the View all dynamic fields panel. You will also notice the Share button is disabled.
- Update each required dynamic element
- Click Share. Once all required dynamic elements in the personalized microapp have been updated the Share button will appear enabled.
Create personalized microapps from the Tiled API
It is possible to create personalized microapps from the Tiled API. The Tiled API is only available for Organizations and Enterprise accounts. See API documentation for further information.
💾 Microapps Autosave
Microapps auto-save in the browser as you update your instances or edit in the builder.